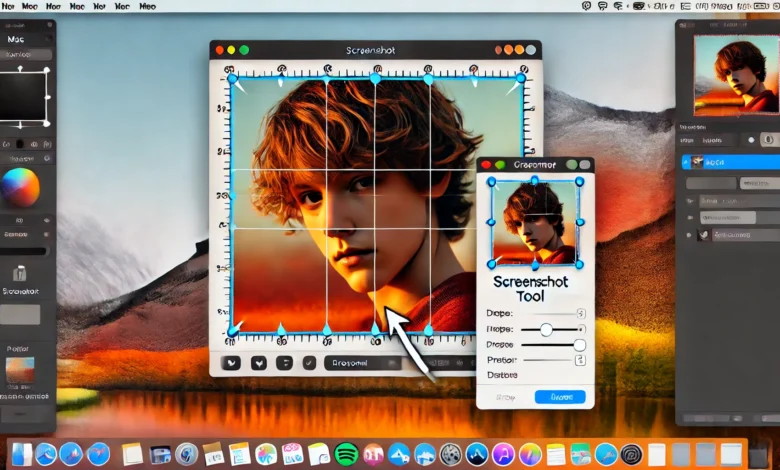
How to Crop a Screenshot on Mac: Easy and Quick Methods

Taking screenshots on your Mac is a common task, but sometimes you need to crop those images for a more refined and focused result. Whether you want to remove unwanted sections or highlight specific content, cropping a screenshot on your Mac is simple. In this article, we will walk you through various methods that will help you crop screenshots effortlessly, making your images look professional.
Why Crop a Screenshot on Mac?
Cropping a screenshot allows you to focus on essential parts of the image, removing distractions or unnecessary content. It’s an essential skill for anyone who frequently works with screenshots, especially for professionals who need to create clean visuals for presentations or social media posts. Cropping also improves the clarity and composition of your images.
Method 1: Using the Built-In Preview App
One of the most efficient ways to crop a screenshot on Mac is through the Preview app. This method is straightforward, and it doesn’t require any third-party applications.
- Take a Screenshot
First, capture your screenshot. You can use the shortcut Command + Shift + 4 to select the area you want to capture. - Open the Screenshot in Preview
Double-click the screenshot to open it in Preview. - Select the Area to Crop
Use the Rectangular Selection tool to select the part of the image you want to keep. Simply click and drag over the desired area. - Crop the Screenshot
After selecting the area, click Tools in the menu bar and choose Crop. Your screenshot will now be cropped to the selection. - Save Your Cropped Image
Don’t forget to save your edited image by clicking File and selecting Save or Export to save it in your desired format.
Method 2: Using the macOS Screenshot Tool (Mojave or Later)
If you’re using macOS Mojave or a newer version, there’s a built-in screenshot tool that makes cropping easy. This method is incredibly useful for quick edits without opening Preview.
- Capture a Screenshot
Press Command + Shift + 5 to open the screenshot toolbar. - Choose the Area to Capture
Select the type of screenshot you want to take. You can capture the entire screen, a selected window, or a selected portion of the screen. - Edit Before Saving
After taking the screenshot, a thumbnail of the image appears at the corner of the screen. Click on it to open the editing tools. - Use the Crop Tool
In the editing window, click the Crop button. This will allow you to select and crop the area of the screenshot you wish to retain. - Save the Cropped Screenshot
After cropping, click Done to save the cropped image automatically to your desktop.
Method 3: Using Third-Party Apps
While the built-in tools work fine for most basic cropping tasks, there are times when you need more advanced features. In such cases, third-party apps can offer a broader range of editing options.
1. Snagit
Snagit is a popular choice for capturing and editing screenshots. It provides excellent cropping options, along with other editing features like annotations and image effects. Here’s how to crop a screenshot using Snagit:
- After taking your screenshot, open Snagit.
- Select the Crop tool from the toolbar.
- Adjust the cropping handles and save your new image.
2. Skitch
Skitch is another excellent tool by Evernote, designed for quick edits and annotations. It’s especially useful for anyone who needs to add text or arrows after cropping the screenshot.
- Open Skitch and import your screenshot.
- Use the crop tool to select the desired area.
- Save or share your cropped screenshot instantly.
Tips for Cropping Screenshots on Mac
- Use Keyboard Shortcuts: Familiarize yourself with keyboard shortcuts to speed up your workflow. For example, Command + Shift + 4 for a screenshot and Command + R for rotating an image in Preview.
- Consider Aspect Ratios: If you need specific dimensions for your cropped screenshot (e.g., for a social media post), make sure to maintain the correct aspect ratio.
- Take Multiple Screenshots: Sometimes, instead of cropping, it might be easier to take multiple screenshots and combine them later.
Conclusion
how to crop a screenshot on mac is quick and simple, whether you use the built-in tools or a third-party app. By mastering these methods, you can easily edit your screenshots to meet your needs. Whether you’re using Preview, the screenshot toolbar, or apps like Snagit and Skitch, cropping helps you create more professional-looking images with minimal effort.
With practice, these methods will become second nature, and you’ll be able to edit your screenshots with ease. So, the next time you capture an image, remember these tips and create the perfect cropped screenshot!


